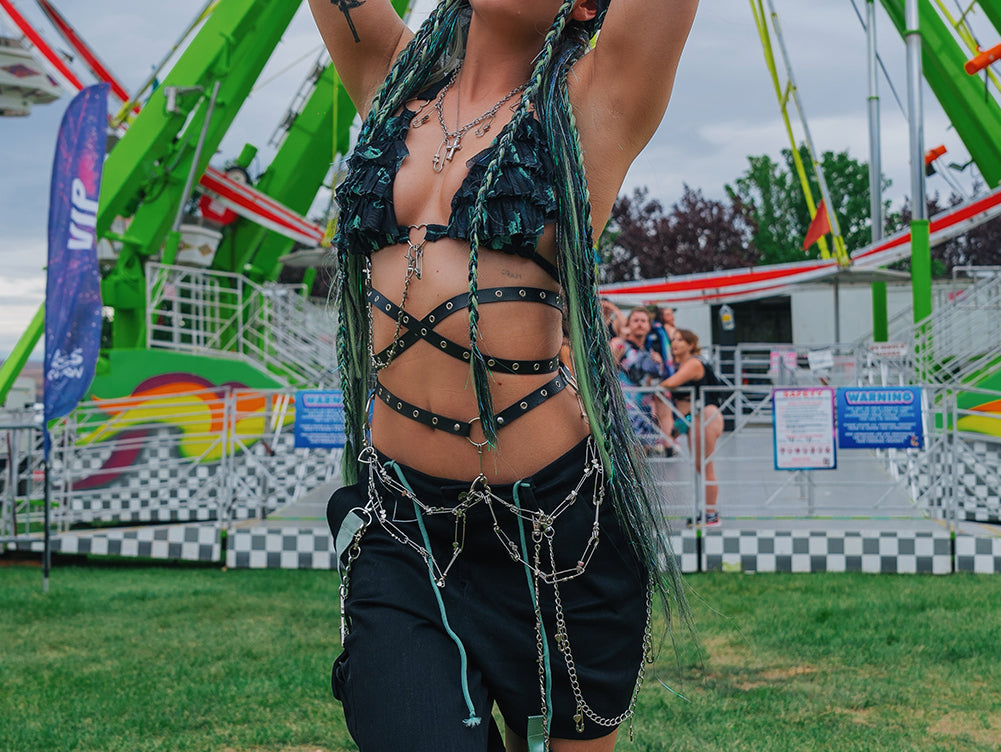
Getting ready for the big rave is always my favorite part. Ever since I’ve gone to my first rave, I’ve never really worn an outfit that I purchased just as I saw it. I’m always making small tweaks or wearing it in a creative way that I haven’t seen before. My friends and I find creative expression through our fashion at raves, so it’s important to us that unique style our own outfits.

iHeartRaves has always been a starting ground brand for me to create my looks. They have tons of awesome pieces and some awesome “basics” that are great to wear alone and are also fun to transform. I’ve done a post before on how you can take their awesome keyhole halter tops and DIY them into something custom. In this article, I’m going to dive into how to make some custom bottoms - perfect rave outfits for your next festival!

Don’t fear, there’s going to be a few levels of customization here, so if you’re on a beginner’s level of sewing, you too can still make something unique! Before we dive straight into the tutorial, let’s go over some starting tips.
Sewing Tips 101:
I’m really lucky that I had a grandmother who was an incredibly talented seamstress. When I was little, she used to make entire dresses for me, and to this day I still wear some awesome pieces she made for herself in the 50s, 60s, and 70s. Today, it’s not really common to make your own clothes, but back then, every woman had to know how to sew.
Many people today don’t know how to sew, but it’s really not a big deal, and much easier than you think! So let me teach you some basics here to get you started.
- Double your thread. After threading your needle, double the thread and tie the two ends into a knot. This way, as you sew the thread is double as thick with one turn!
- Start, and end, on the inside of the garment. This hides all your messy knots and loose ends. I even leave a little extra thread here instead of cutting super close to the knot. Since it’s hidden, it doesn’t matter!
- Always match your thread to the garment. This is also a trick to hiding all the crazy zig zags or mistakes you might make.
- Try your item on halfway through. With each of these bottoms, it was important that I tried it on in my process. This helped me figure out if I was sewing on an elastic waistband that I shouldn’t be, see where I needed to add more buttons or see exactly how my details were laying on my body.
- When all else fails, staple it on. Seriously. In high school, the hemming came out of my kilt (yes, I wore a uniform) and I used a stapler to hold it together. If you reach your wit's end, just staple it all on. It won’t be the prettiest, but it will get the job done. Just be careful they’re not scratching your skin.
Tips for Shopping at JoAnn’s
I personally enjoy shopping for supplies at Joanne’s for additional supplies. Keep in mind the following while shopping:
- Buy a longer length than you need. I always measure out the amount vs telling the salesperson that I need xx inches because guessing doesn’t work. Wrap a piece around your hips for length, then add a few inches extra just in case. There’s nothing worse than running out of fabric when you need more.
- There’s always a coupon online. Search their website when you’re checking out and you’ll find one.

After you've got your supplies and fabric, you're ready to start creating!
Just Call Me Cupid Skirt:
The iHeartRaves Mini Skater Skirt is a dream piece to start designing with. It’s a nice $10.95 on the wallet and comes in multiple colors for your look. It also comes in size XS to 2XL. For this look, since my skirt was baby pink, and Valentine’s day was around the corner, I was kind of feeling very feminine and Valentine’s inspired vibes. I wasn’t sure what this was going to look like until I went to JoAnne’s.

The skirt has so much flowing material, so buttons are a great item to use for it. I took my items with me to JoAnne’s so I could color match, and I found some super cute felt heart buttons. They were totally perfect because, in one pack, that was $2.99, there were over 20 buttons in various sizes and colors.

The band on this skirt also lends itself to adding some details to it. There were a lot of different options, some trim that fit the size of the waistband, but I decided I wanted the focus to be the buttons on the skirt. I did find though these SUPER cute Marie buttons. They were so cute so I had to get them. I used one as a simple detail on the skirt waistband.
Sewing buttons is time-consuming. You need to do each one individually, otherwise, you’re wasting a lot of string on the underside of the skirt. You also risk pulling the skirt material from button to button in a not great way if you just continue to each button. Because the buttons were different colors, I could have changed the string color for each one, but I chose instead to match the skirt color which worked out fine.

You also want to be super careful you don’t sew through two layers of the skirt. You only want to sew through the top layer. I had to redo one button because I accidentally sewed through both layers. There is also no precision to where you place them, but halfway through I did try the skirt on to see how they looked and where there were some open spaces.
For my complete look for this festival outfit, I went with a white halter top, heart necklace and pink platforms.

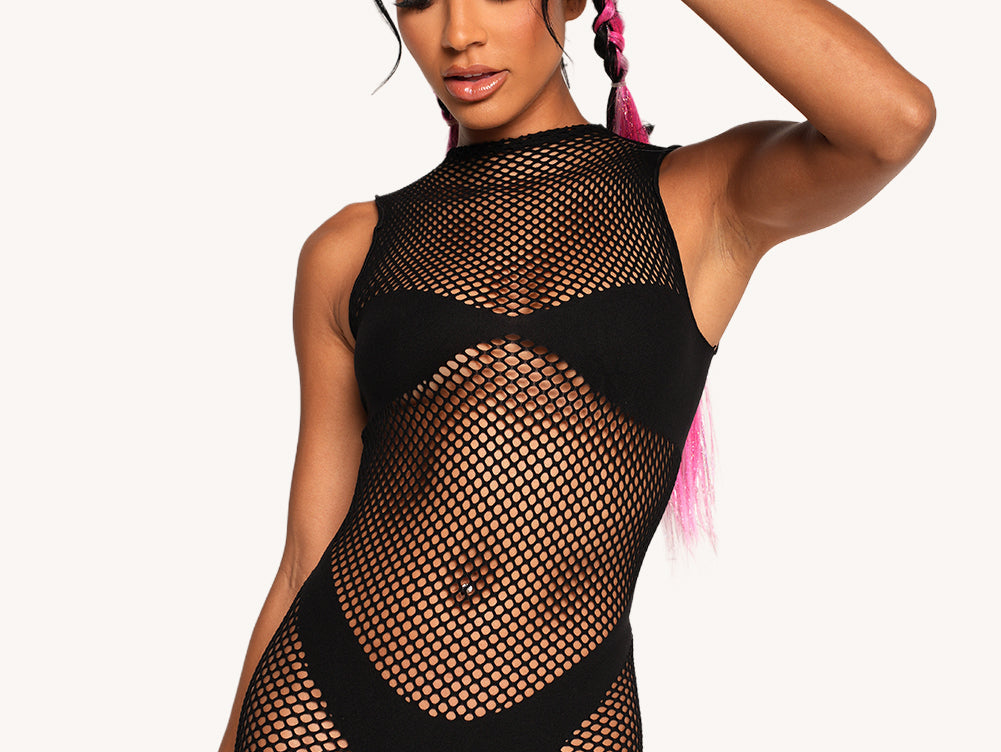
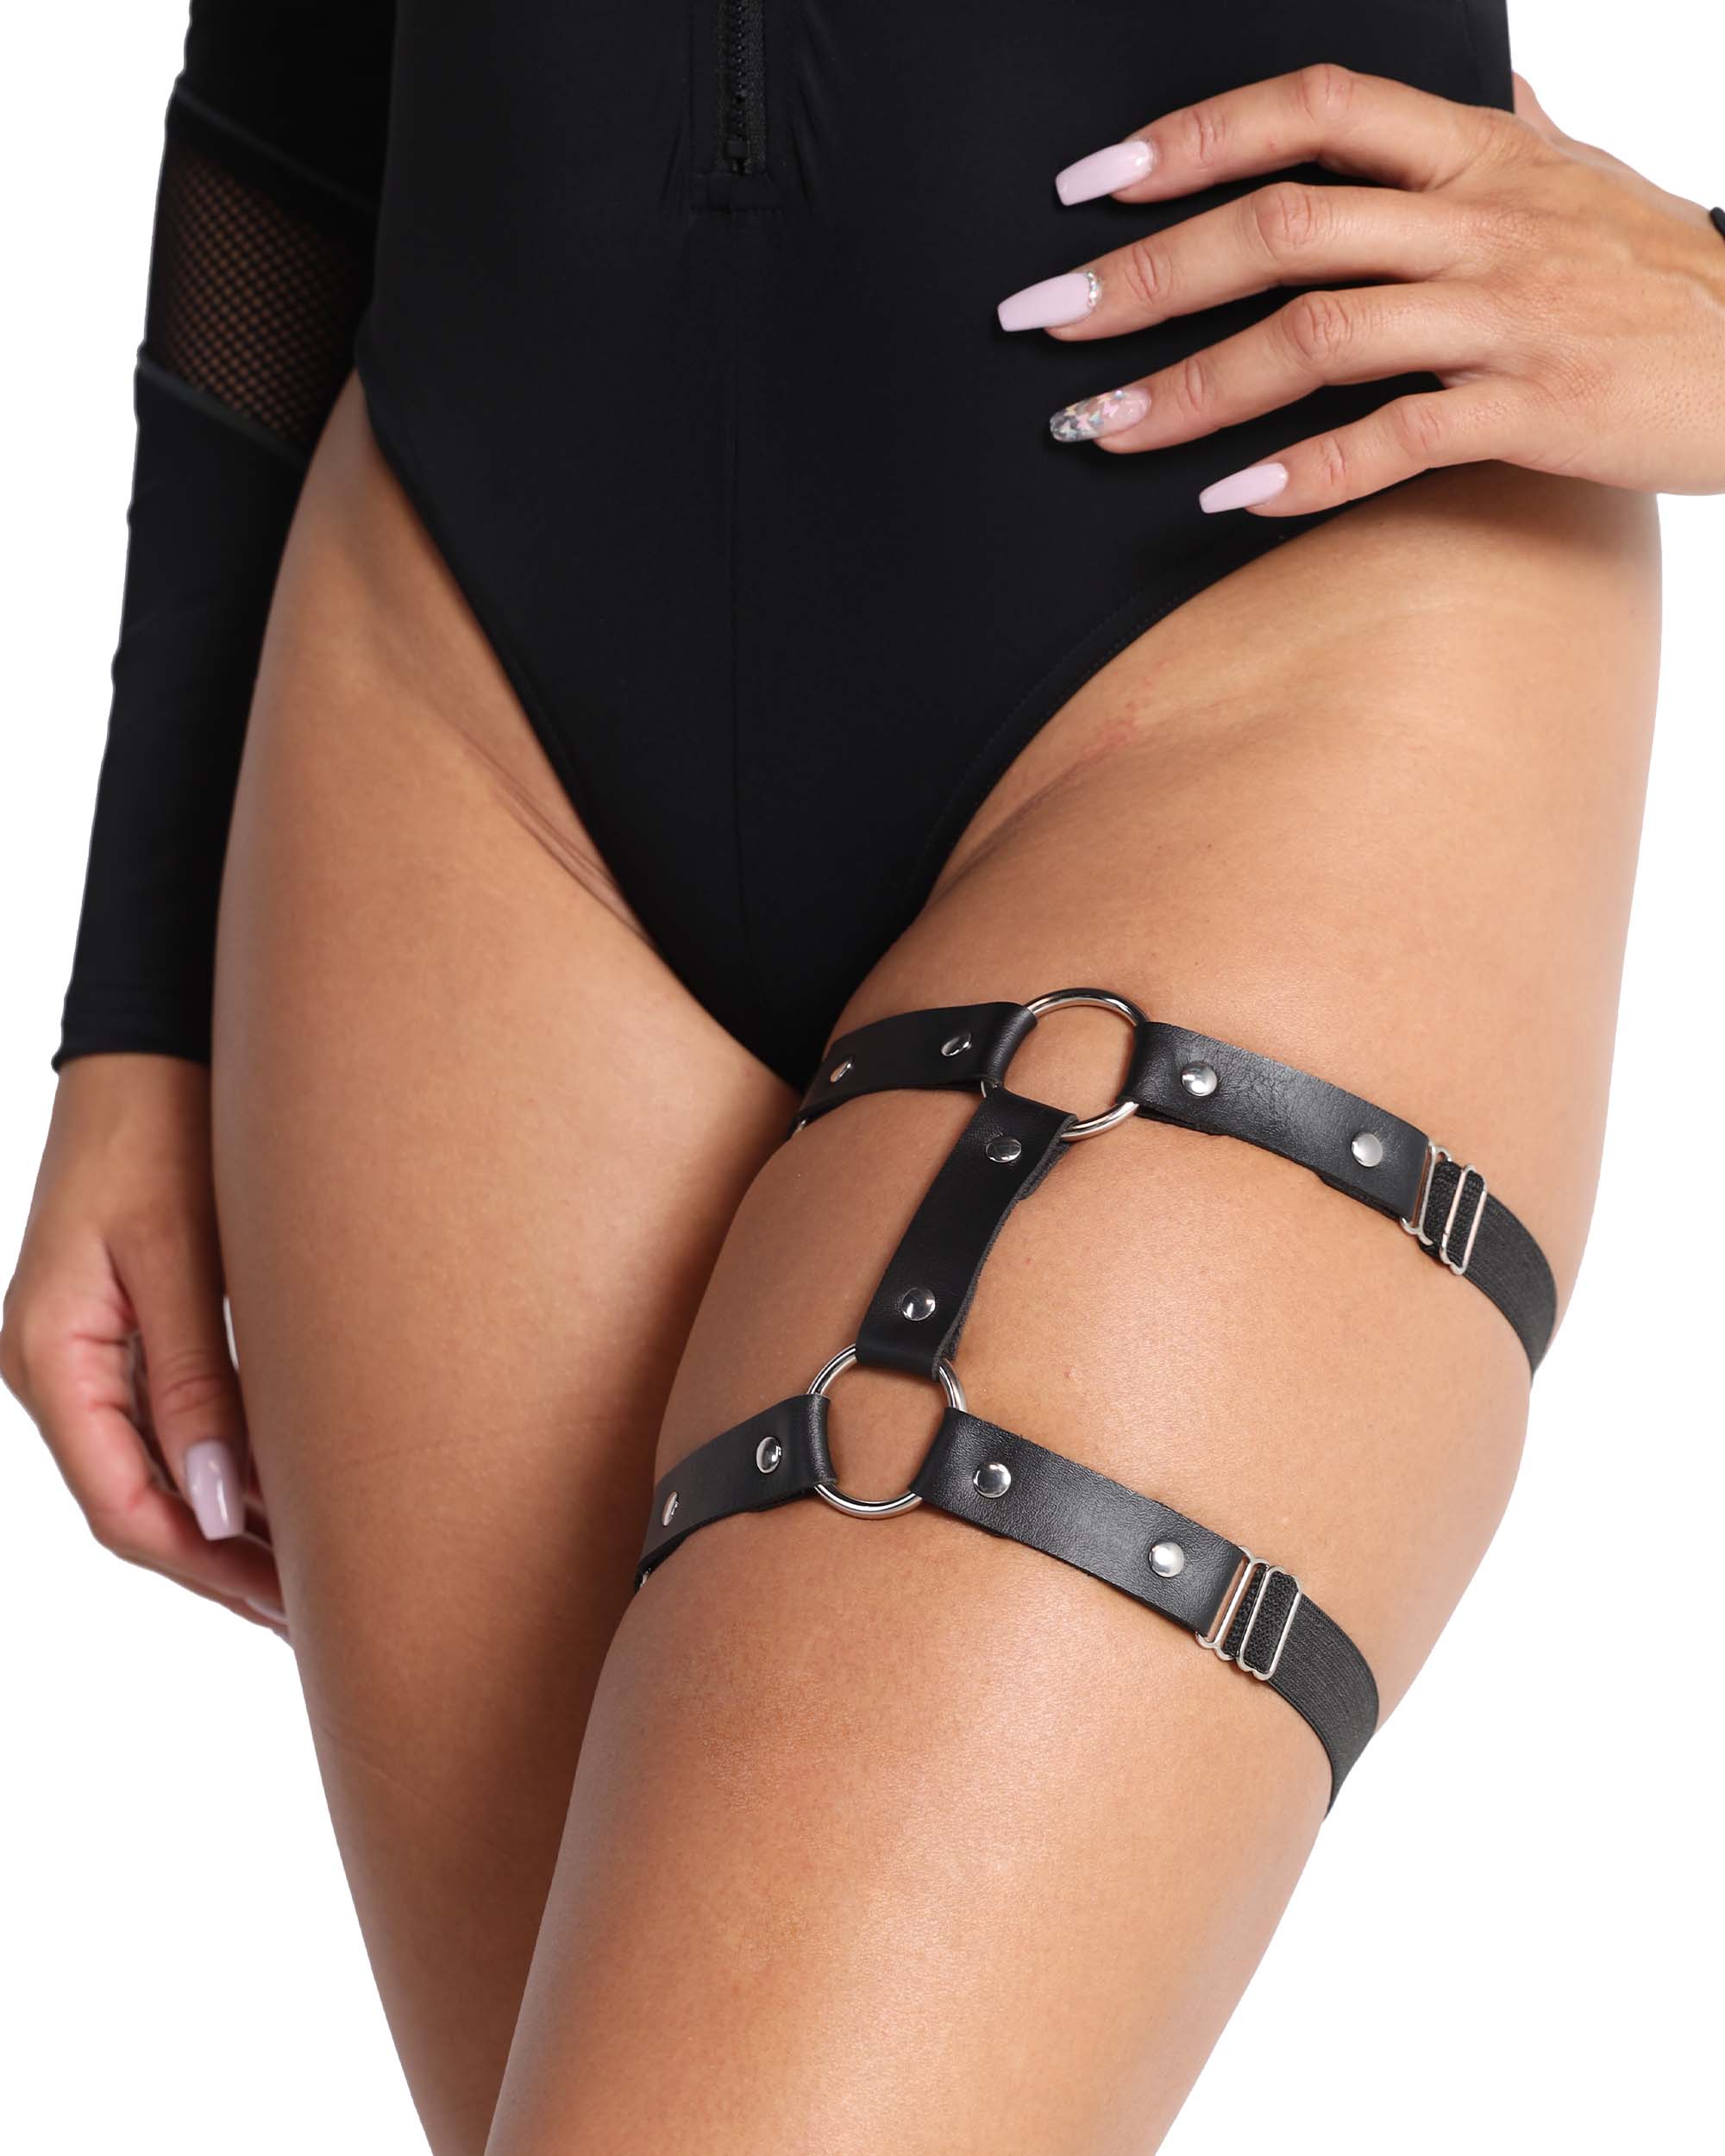
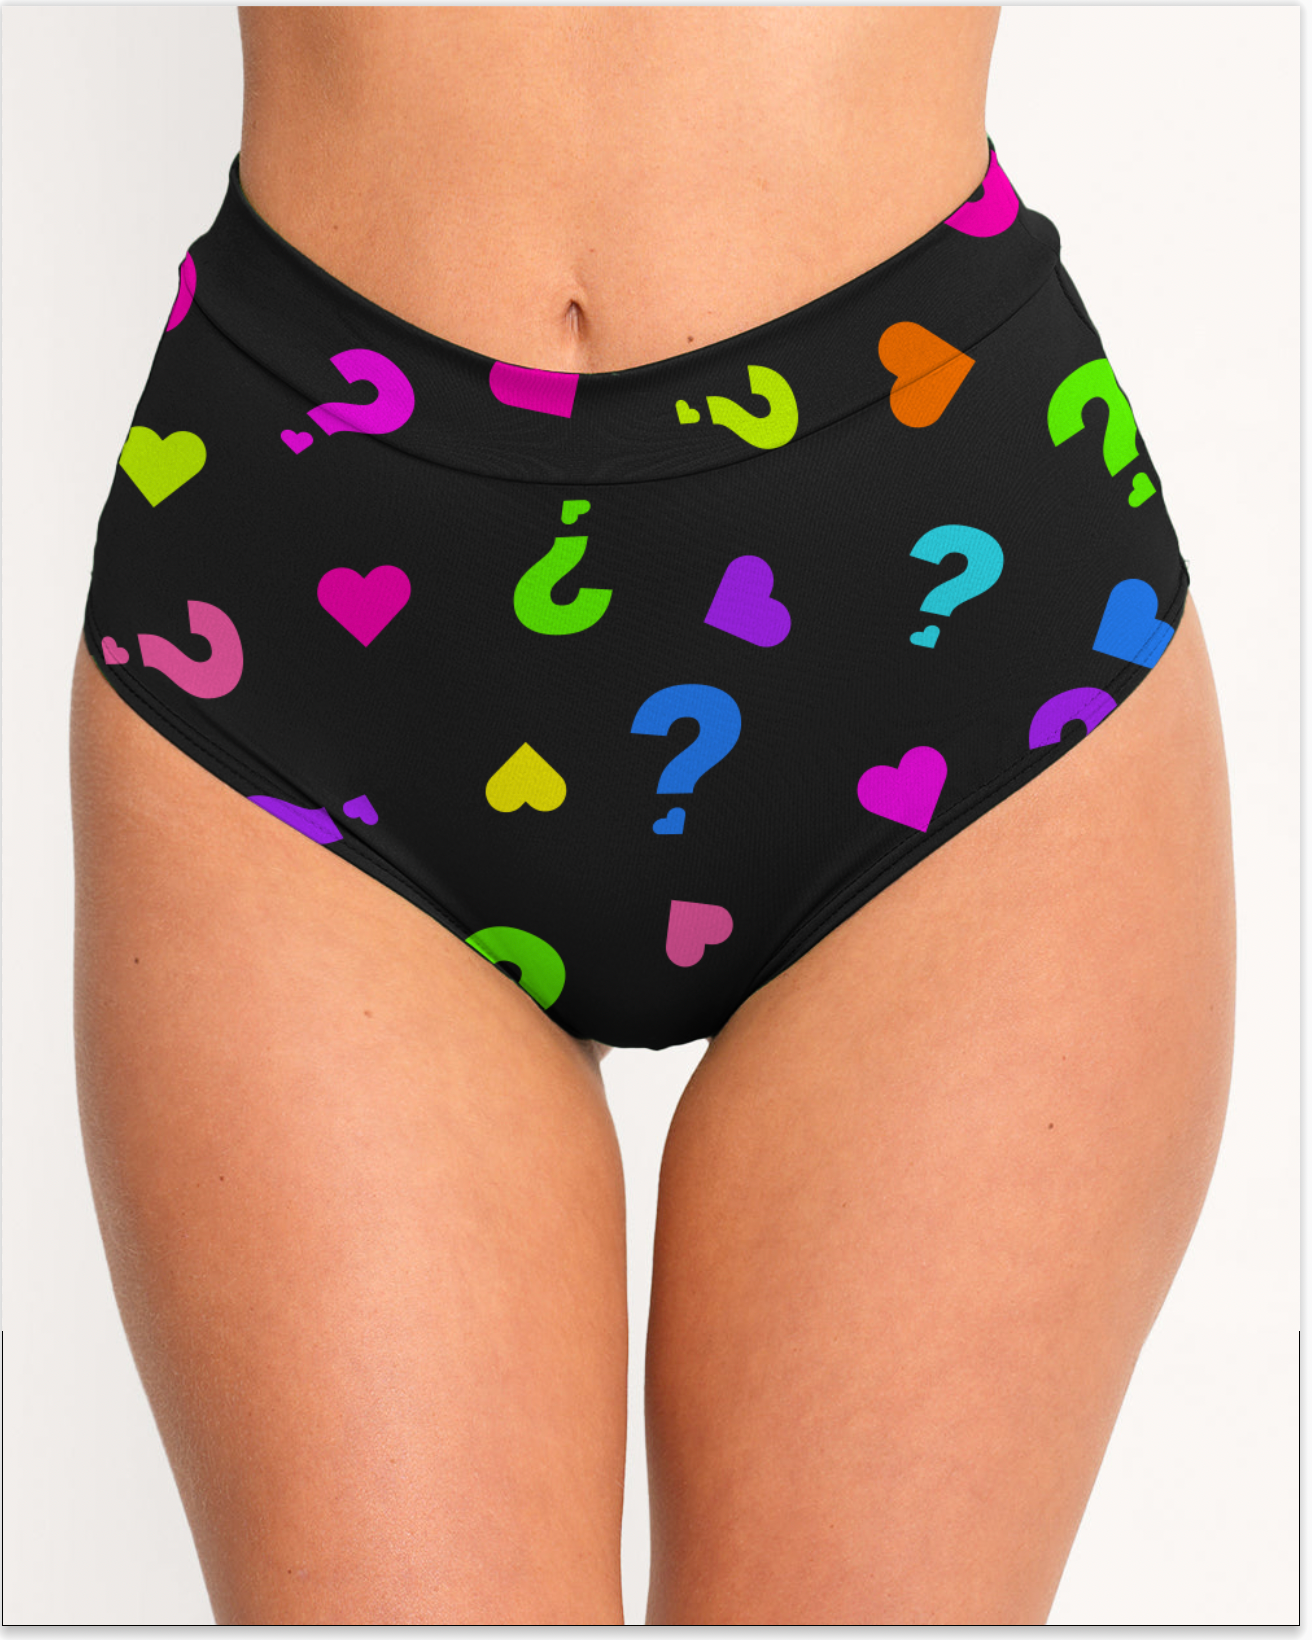
Festival Fringe Booty Shorts

I fricken love the iHR Booty Shorts. These little guys are so comfy and were the first thing I ever customized myself. They really lend themselves to being dressed up with details. This is because it’s really easy to sew. One of the first designs I did with these was for EDC Las Vegas, where I sewed a big cheerleading bow to the band on the butt. It was so cute and so simple to do.

For this rave outfit idea, I wanted something different. Instead of sewing something on the band, why not on the sides? While at JoAnne’s I came across this trim that had me thinking wtf-is-this, and it turned out to be dual tone fringe. Sign me the f-up.

I’ve never sewn fringe before, and really didn’t even understand how it worked. But after investigation, I was told you’re only supposed to sew one side to the garment, then cut the edging off the other side, so that it is loose fringe. Although, because the shorts are so short, I liked the idea of the fringe being shorter as well, and I also was really digging the looped look of it. So instead of cutting the fringe, I sewed both edges to the shorts and left it as is.
Sewing the fringe on this is one of the easiest items to sew. Line up the fringe along the edge, and cut sized to each side with a little extra just in case. Before you begin sewing, make sure the fringe is all laying the same way so that you don’t sew through the loops wrong. Start on the inside then follow the literal fold of the shorts to remember how to keep a straight line.
For my complete look for this rave outfit, I took one of the iHR keyhole halter tops I had customized and my black platform shoes. This rave outfit looks expensive AF, but really, I would have spent maybe $30 on the shorts, halter, and details I added to it. It takes time to sew, but is so worth it. I can't wait to show off these rave bottoms at my next festival!

High Waisted Disco Shorts

The Hologram Electro High Waisted Booty Shorts are really cool because they have so many colors in them, you can really do anything with it. They have a lot of space so you can go the button route with this, but I liked the idea instead of doing a band at the top. You can do a band on almost any of the pieces - it’s the most simple way to spice up a look.

Make sure you measure around your waist for how much you need. Do not base it on the size of the garment because once it is on the material will stretch wider than it originally lays. For my look, I thought it would also be fun to add tassels on the sides.

I added the tassels first so they appeared under the band I would be adding. You can line the new band you’re adding as high or low as you want on the real waistband, just make sure you hide it enough.

When you go to sew this on, start on the seam then sew as you wrap around the bottoms. Keep your stitches loose so that you don’t lose the elasticity of the bottoms! Again test put them on halfway through if you need to so you know how you’re doing.

So there you have it! There’s a million-and-one ways you can make your own DIY festival fashion! If you style your own rave bottoms or skirts, be sure to tag #iHRStyled on Instagram for a chance to be featured! Happy DYI-ing!