Do you love your keyhole halter top, but need some cute ideas to make it your own? Maybe you want to refresh one that you’ve worn a million times and turn it into a new look? This post is all about simple and inexpensive ways to take your keyhole halter top to the next level!

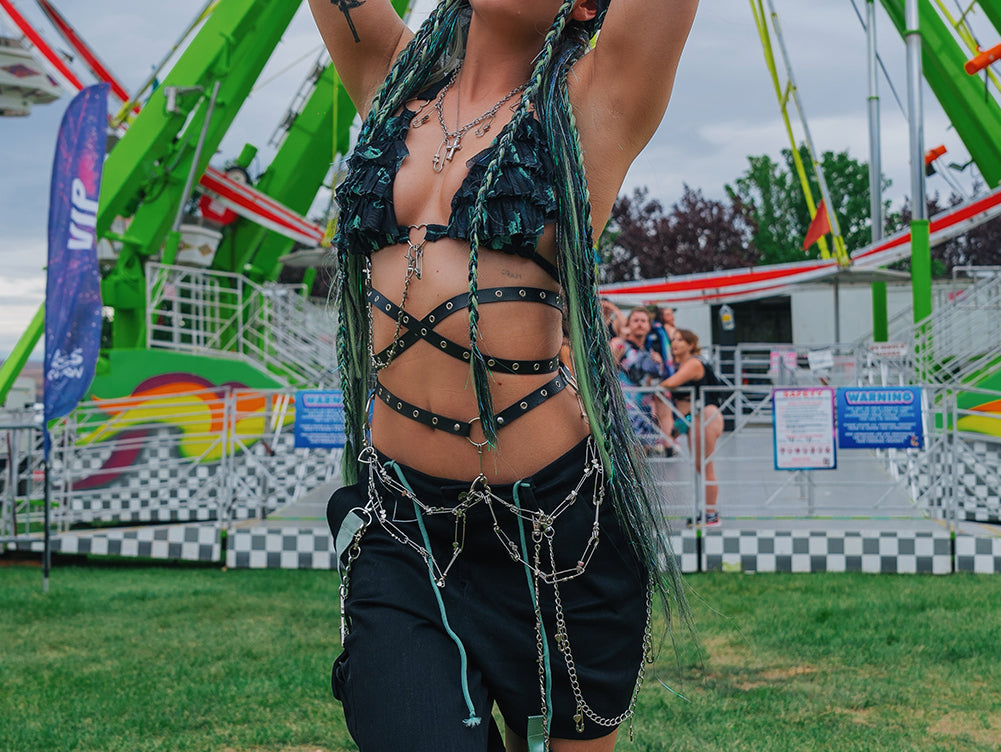
The keyhole halter is a staple of rave girl fashion. It comes in a multitude of colors and looks flattering on all body types. It’s a great basic piece to use to start any look you’re going for, and is the inspiration for this post. The keyhole halter tops can be purchased here, and are $20. They come in every color you can imagine and are one size fits most.
I had seen some other shops selling keyhole halters with feathers or coin belts for upwards of $50, but thought, “hey I could do that…” so I wanted to put it to the test. It’s definitely more fun creating your own top, and is much nicer to your wallet as well.
Purchasing Materials
To do some different looks, I went to Jo-Ann Fabrics and Michaels for items. Both stores were key as they offered me different things to choose from. The most important thing to remember though, is BOTH stores have weekly coupons available online! Both are almost always 40% off one regularly priced item, and are easily found by Google searching the shops name + coupon. You don’t even have to sign up for anything to access these, just bring up the webpage for the clerk to scan.

At Jo-Anns, I bought trim (note they didn’t call it ribbon) to use on the edges of my tops. The amount I asked for was 1/2 a yard when I wanted to do the top and the bottom of the halter, and a full yard for when I wanted to do the side lines. The measurement for the top is xx and the bottom is xx. It’s important to not take the trim along the length of the straps because you’ll lose the stretch of it and it will be much more complicated to tie. It also won’t look as neat when you’ve finished.

Line up to just the edges of the actual top, try not to go further into the strap.
My Jo-Anns had a huge aisle of trim options. Prices ranged depending on the details on the trim, but because you’re buying such a small amount you still won’t be spending too much. I bought four different options of trim to play with, and my total was $12 before my coupon. That’s four tops worth of trim for $12!
At Michaels, I shopped more for the jewels and beads for my tops. I was able to find a bunch of items on clearance that were super cute, plus I had my 40% off coupon for one of the items that wasn’t on sale. I spent a total of $20 at Michaels, but have enough pieces to make four more tops.

Same with the top piece, only use trim on the part that is actually the top.
So, between my two trips, I spent $30 on items to decorate with, which, if you end up doing this with your friends, turns out to be an even better deal. That way you share the cost if you want to buy a few items to mess around with. Or, if you’re just doing your one top, you’ll spend even less if you go shopping with a game plan.
Tips for Sewing
If you’ve never sewn something before, and don’t have a grandma handy to help you out, don’t fret! It’s actually super easy to decorate your top. Here’s some basic tips to follow, and you’ll be off to a great start!
- Tip 1: Make sure to use thread that is the same color as your top. This will make it look much more seamless, and hide any crazy stitching lines you might make (which I always do). Even when I did the purple boa, I still used the black thread as it was hidden by the feathers.
- Tip 2: Sew from the back of the top. This means, after you tie your knot to your string, start from the back of the top so the knot will be hidden. In the same vain, something like the coin belt that has a trim you want hidden, sew that to the back of the top instead of the front.
- Tip 3: Go over it again and again and again. You can make this easier by making the thread in your needle as thick as possible in the first place (instead of one thread). Then, go over the part you’re sewing a few times, make close stitches, and loop through hoops a lot to make sure they’re nice and stable.
- Tip 4: If you’re going to sew any jewels, or single beaded pieces, take the time to sew one, knot it then cut the thread and start again. Sewing each one individually will keep them secure, and make the top much cleaner if there’s a lot of space in between each jewel. If the pieces are right next to each other, feel free to continue with the same thread.
- Tip 5: If you’re going to use gems, make sure to buy the ones with holes in them so you can sew them on. I have yet to find a fabric glue that will keep gems on an item of clothing through heat, sweat and dancing.
Some of My Designs
Adding trim to a top is probably one of the easiest ways to make your top unique. There’s a plethora of options at Jo-Anns for this. Coin belts, pompoms, fringe, feathers, all colors, all combinations, all styles. Take a look, you’ll be surprise at the amount of options. You can even layer these trims! I ended up layering the feather boa on top of the coin belt trim to add more color as you’ll see in one of my designs below.
As far as adding the trim goes, there’s a few ways you can do it. You can do the top and the bottom, the side hems, or, all the way around.
For the purple feather boa on the white top, I did just the top and the bottom. The feathers are fun cuz they feel so soft and fuzzy, and the come in super bright colors too. The feather boa was a little complicated to sew (be careful the feathers want to pull through the needle hole) but was totally worth it for the finished product. Just keep the boa a little far away from the thread when you’re pulling it through the top. Only let it be pulled tight once the loop is almost to the top.

For the tiny daisies, I decided to use them on the side panels of the top. I think it would be cute to go back to the store and buy a matching pale peach boa to add to the top and the bottom of it for a little more fun.
Something like these daisy doesn’t require lots of thick sewing either because they’re so tiny. It did require purchasing double the amount of trim though (a yard), so keep that in mind.

The gypsy coin belt style is awesome, cause we all love body chains and dangly things on our outfits! The coin belt was super simple to attach. When you’re working with a trim like this one, the bottom layer should go behind the top so only the coins dangled down. The top part though, I had to sew on the frontside of the top, so I just tried to make it a bit more neat looking than the back of the top was sewn.

From those deigns I started to then experiment with the keyhole in the top part of the halter. This seemed like the perfect spot to add something dangling down. I found a lot of (cheap cause they were on clearance) jewelry pieces as fun options to add to the center of the keyhole.

To make sure they don’t fall off or loop around in a weird way, make sure to loop your thread through multiple times. You want this to be fastened tightly in place.
I also thought it would be fun to use a bunch of these to create your own pattern on a top…and that’s when I started to get really crazy. I found these quartz-like stone beads and thought “why not”. I used white string to match the top, and sewed them to the bottom. I mixed in some other jewelry accessories to make the top have a bit more color and flair. This probably turned out to be my favorite design.
You could again of course layer up, do a trim all the way around then add some more special beading. You can mix and match the pieces in so many ways!

Here’s some other great ideas I didn’t try, but you totally should!
- Tie Dye (for a white top)
- Bedazzle it! There’s packs of jewels at Michel’s for $4 (don’t forget to use a 40% of coupon from their website). Make sure to buy the ones that have the little holes so you can sew them on. Fabric glue has a hard time holding on stretching material. It will take some time to do, but it will be much more worth it than the glue! Be sure to use a color of thread that matches the top you’re sewing onto as well.
- Kandi messages! The same way I sewed the green quartz-like beads, create some cute messages with kandi beads and sew them to the top of the halter or the bottom!
It’s really amazing all the different styles you can make your top match with a little experimentation. Perhaps you want it more boho for Lightning in a Bottle, or more neon for EDC. Maybe you want to make it totally western for Coachella or jewel the heck out of it for Ultra. Whatever your style, let it shine through by making the top your own! You’re bound to get tons of compliments! Then, at the end of the day, undo the threading and make the top new again if you want.
So gather your girlfriends, each buy a top and have a decorating party for your next rave! This is such a fun way to get everyone together and the squad bonding over a big event before it happens! If you style your own top, be sure to tag #iHRStyled on Instagram for a chance to be featured!
I styled my good friend and fitness guru Sydney Benner in the tops I designed to help get you inspired! Sydney is the creator of FLIGHT, an EDM inspired workout fusing high impact yoga, cardio dance, and functional fitness. It’s literally the the class you’ve been waiting for to get that festival bod kickstarted! Hopefully our little photoshoot can inspire you to create your own fun looks! I’d love to see them!