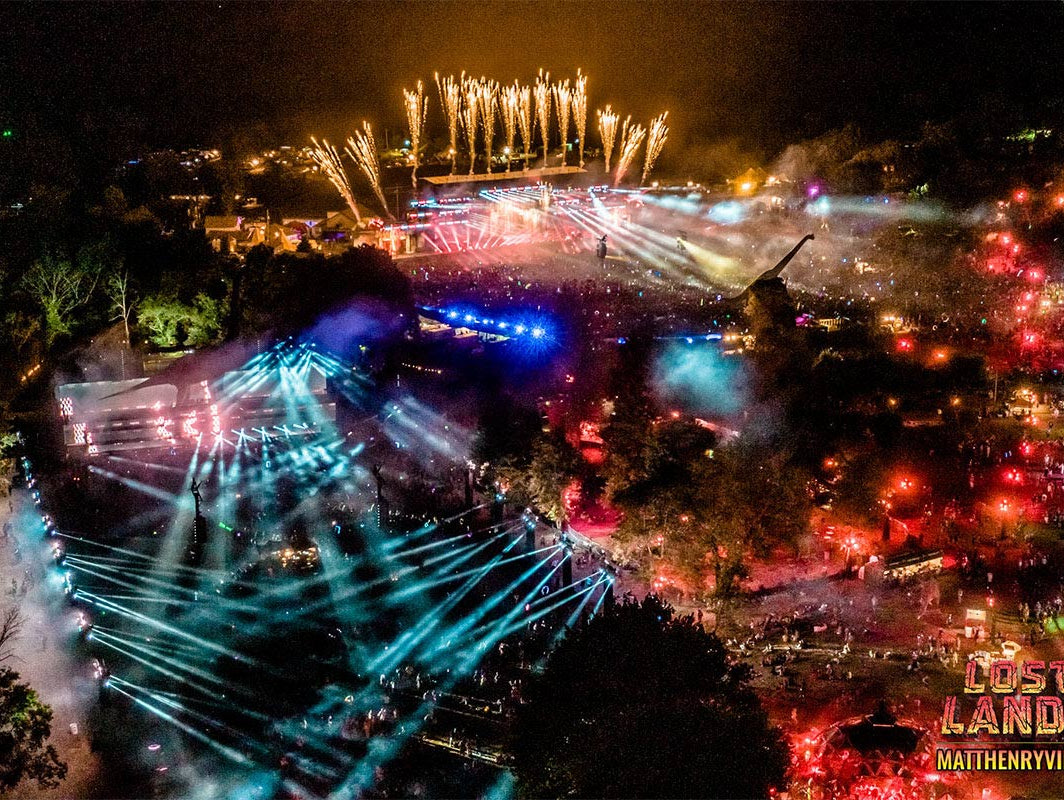
Hello rave loves! If you tuned into the iHeartRaves SnapChat (username: iheartraves) last week Tuesday for our photo shoot, you’ve seen the beautiful, giant dream catchers we used. And you saw that I promised to make a post on them so you can make your own dream catchers too. They’re not too hard to make, but this was actually my first time making dream catchers, so I’ll try my best to take you through the process! All you need are the following materials:
- Hula Hoop
- Ribbon in any colors and size of your choice
- Twine
- Feathers
- Hot Glue Gun
You can use hoops of any size you’d like, but for this shoot, I picked out two different sized hoops, one large hoop 36″ in diameter and one small hoop 24″ in diameter. You can get these hoops at Wal-Mart or Target for about $6 each. I used a few different colors and styles of ribbon to wrap the hoop and for the embellishments. I suggest deciding on a color scheme before heading to your local craft store. For this shoot I decided to use turquoise, purple, and maroon with ivory accents. To give the dream catchers more dimension I picked out a mixture of sheer, satin, and grosgrain ribbon.
First, wrap your hoop. I used 12 ft of grosgrain ribbon about 2 inches wide for each hoop. Start by taping or gluing one end of your ribbon to the hoop and then simply wrapping the ribbon around the hoop until it is fully covered. When you get to the end, simply tie off the end by looping the ribbon through itself and let the excess ribbon hang. That part will be the start of your embellishments at the bottom. Be sure to pull the ribbon tightly as you wrap the hoop so it doesn’t fall apart.
Next you’ll want to start weaving your dream catcher. This is probably the most difficult part of making the dream catchers, but luckily the imperfections will give your dream catcher some character. It might take several tries before you’re able to get it to look the way you want, but the concept is pretty simple. I pretty much just winged it, and I’m pretty sure I didn’t do it right, so I’ve added a picture below to help guide you. Start by securing a knot at the top of your dream catcher. Then pull the twine taught, but not too tight and wrap the twine underneath and loop it through securing the first knot in your base, pull the string tight again and repeat this step. Make sure the spaces are even between each knot and when you get to the top of the hoop again, start weaving through the middle of your base knots. Repeat this pattern until you get to the middle and simply tie off the twine. You can add beads to your weave to add even more decor, but I skipped that step.

Now that you’ve weaved the dream catcher, you’re almost done! All you have to do now is measure how long you want your embellishments at the bottom of your dream catcher to be. You don’t have to be precise for this, and I found that the slight variations in length gave the dream catcher a nice look. Cut the various types of ribbon and simply tie them to the bottom of your dream catcher to create the embellishments. The variations in material and colors of the ribbon really gave the dream catcher a lot of dimension. I especially loved the ivory lace and burlap ribbons that give it a more bohemian vibe. The burlap ribbon actually looked too thick when I first tied it on so I carefully cut it vertically, cutting the material holding the burlap together and pulled the burlap apart which created these long bunches of strings.

Many people use feathers to embellish these dream catchers so I bought a pack of brown, red, and ivory feather plumes from the craft store, tied about 3-4 evenly spaced out per string of twine and secured the feathers with just a little bit of glue with my hot glue gun. You can use as many or as little feathers as you like. You can even get creative and incorporate beads or use peacock feathers instead if it fits your theme. Voila! Your own, one of a kind dream catcher!